For help and advice call or text 07801 179883 or email david@hitg.co.uk

Simple Solar Inserts to cut 85% of Solar Heat/Glare from Polycarbonate/Plastic roofed conservatories

*We have designed a Short Questionnaire for a quotation during Lockdown. Please scroll down for product information, then compete the brief questionnaire that follows.*

Our Solar Inserts are inserted into the top flute of the Polycarbonate roofs with a rod and silicon spray lubricant to exclude up to 85% of the Sun’s heat before it enters theconservatory, and to cut winter heat loss by up to 30%.

Transparent to let the light in and cut glare they also protect you and your furnishings by excluding 99% of UV rays.


Installing solar inserts.
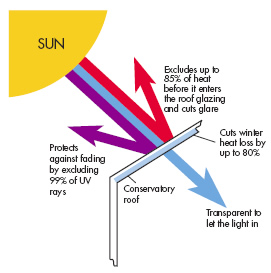
Diagram showing how polycarbonate conservatory roof heat reflectors work.


Performance Tests : Flat Solar Inserts for Polycarbonate / Plastic conservatory roofs.

They dramatically cut high summer temperatures

Transparent to let in the light

After glass conservatory roof heat reflectors have been fitted.
Solar inserts for a polycarbonate conservatory roof to cut heat & glare.

Simple DIY fitting

  • All that is needed is a set of steps, sharp knife and scissors, screwdriver, and Mastic gun for sealing.
  • Fitting Kit comprises : Silicon Spray, Installation rod, breather tape, sealant.
  • An average conservatory will take a day to complete.

The sequence is as follows:

1. Position step / ladders so that they are safe and you are positioned at a comfortable height, with the end of the polycarbonate panel is at chest height.
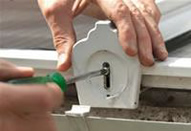
Remove the end caps that cover the ends of the polycarbonate sheets

 2. Remove the end caps, and end closures that hold the ends of the polycarbonate sheets.
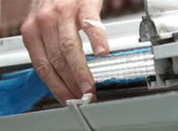
Remove the sealing (breather) tape to reveal the chambers of the polycarbonate panel.

3. Remove the sealing (breather) tape to reveal the chambers of the polycarbonate panel.

Punching hole into tape.
4. Punch a hole into the Flat Solar Insert Tape.
This is the hole produced.

5. This is the hole produced.

Position the Flat Solar Insert tape and the rod.

6. Position the Flat Solar Insert tape and the rod.
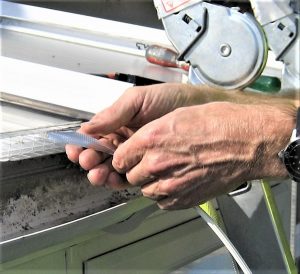
Insert the rod into the Flat Insert Tape.
7. Insert the rod into the Flat Insert Tape.
nsert the rigid Flat Tape Solar Inserts with the supplied rod into the top chamber. Repeat until all cavities are completed.


8. Insert the rigid Flat Tape Solar Inserts with the supplied rod into the top chamber. Repeat until all cavities are completed.
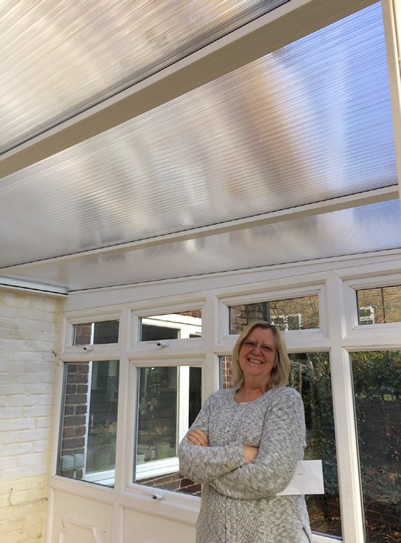
9. Fit the new breather tape that is supplied, end closure, and end caps to complete.

For an online quote please complete the following:

Floor area measurements we will require from you are W=width D=depth.

---------------------------------------------------------------

(This is the measurement from the house wall to the windows).

---------------------------------------------------------------

Please attach the following photos: 1) Photo of the whole conservatory roof from the garden. 2) Photo of the end of the conservatory roof supports above the gutter. 3) Close up photo of the ridge of the conservatory including the crest and Finial if you have these (not needed for lean-to conservatories) 4) Photos from inside the conservatory of the area/areas where the leak or leaks have occurred.

Click or drag files to this area to upload. You can upload up to 6 files.

Please upload a max of 6 photos. If photos are larger than 2MB please re-size if you can as they may be rejected by the server, or email these separately.

---------------------------------------------------------------

Finally, please give us your contact details so we can send you a quotation